|
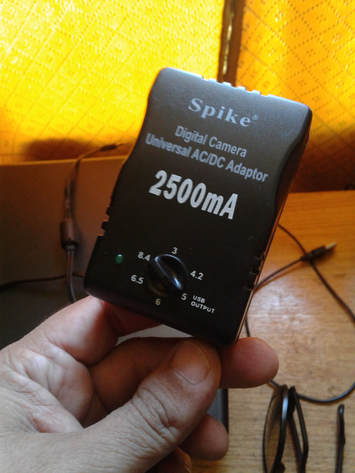
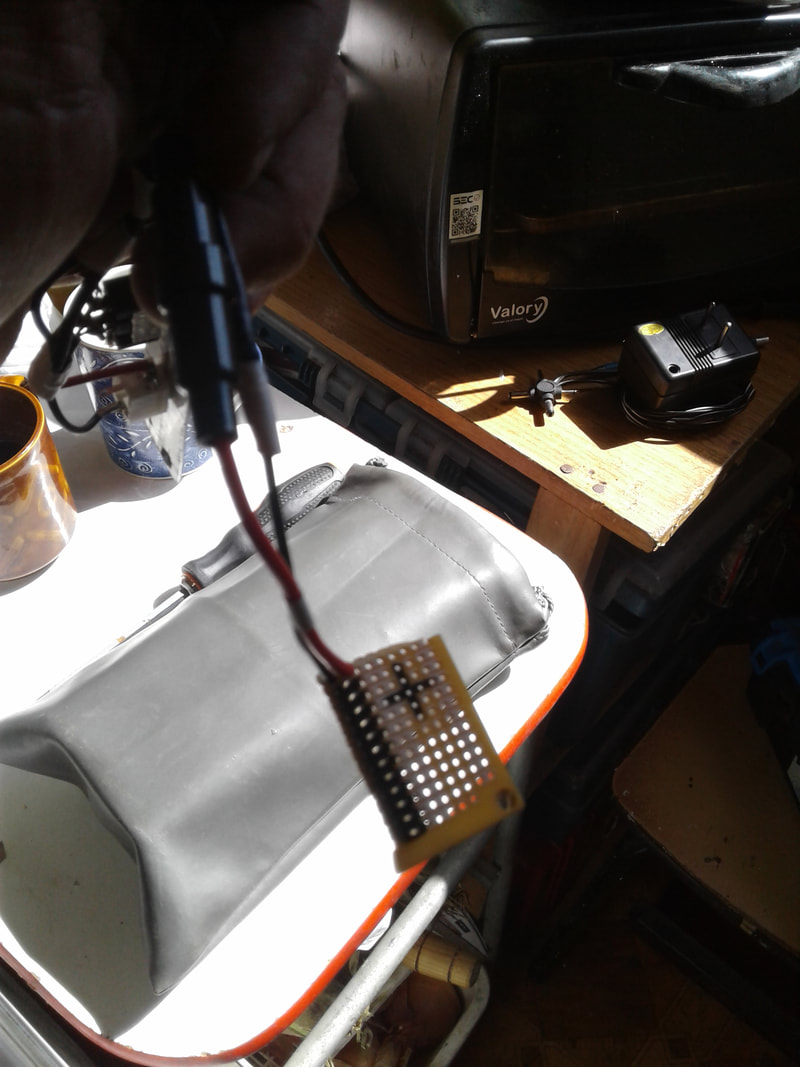
Part 2 of a series by Eduardo Gozne Read Part 1 At the beginning, all my modules would be powered by 2 batteries of 1.5 volts. Then I thought it would be uncomfortable to disarm every time I needed to change batteries. Then I began to plan an exclusive module to deliver energy to the rest. My research on the internet resulted in a simple source of regulated power that receives power from an adapter of 110/220 volts to 9, 6 or 3 volts (those that we use for cell phones, cameras, effects pedals or others). The most important thing to keep in mind is the amount of milliamps, since the number of modules that can be connected depends on this. I bought an adapter with several options of regulation of voltage (one of them 5v standard USB) and 2500 milliamperes which could feed a considerable amount of modules if we take into account that the CMOS 4000 series chips do not exceed 30 milliamps approximately, working with 5 volt.
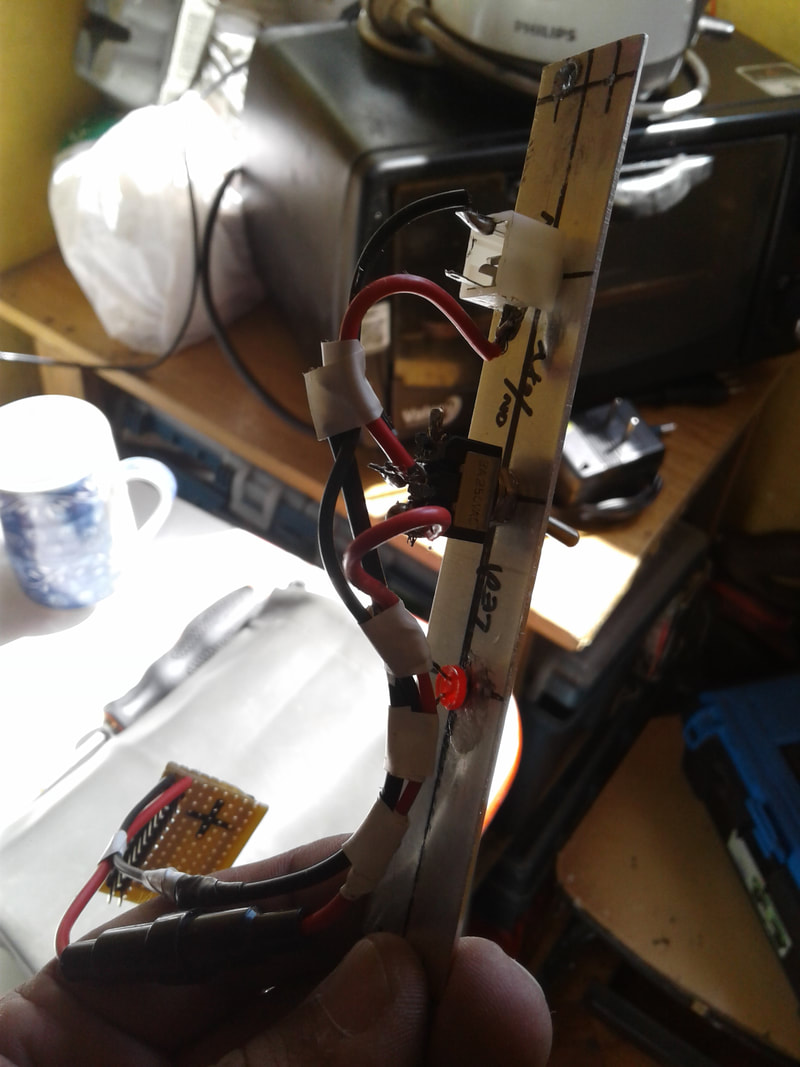
It is necessary to install a 1N4007 diode between negative and positive cables (respecting the polarity of the diode) to ensure that we will always have 5volts of input. If you wish you can incorporate an LED with a resistance of 1k Ohms (also 100 Ohms works) so as not to burn it.
0 Comments
It IS possible. Maybe the device I am building does not have the thousands of features of the complicated and expensive software programmed Microchips used in the most expensive modules, but the fun is guaranteed. Analog old school are my rules. The components that I am using are classic and cheap, resistors, capacitors, diodes, transistors and microchips of the CMOS 4000 series that can operate from 3 volts, which allows me to use two batteries of 1.5 volts to power them. Potentiometers of all values, a lot of cable and a protoboard are the basis of the tests (and errors). Experimenting is the key, it is difficult for something to explode with 3 volts. The Internet has a lot of information to guide. If you have some skill, you will quickly learn to weld. Building the circuit with free software is not complicated, you must have patience. I will share with you my advances, discoveries and mistakes. Let's start with a photograph of a welding/soldering session: 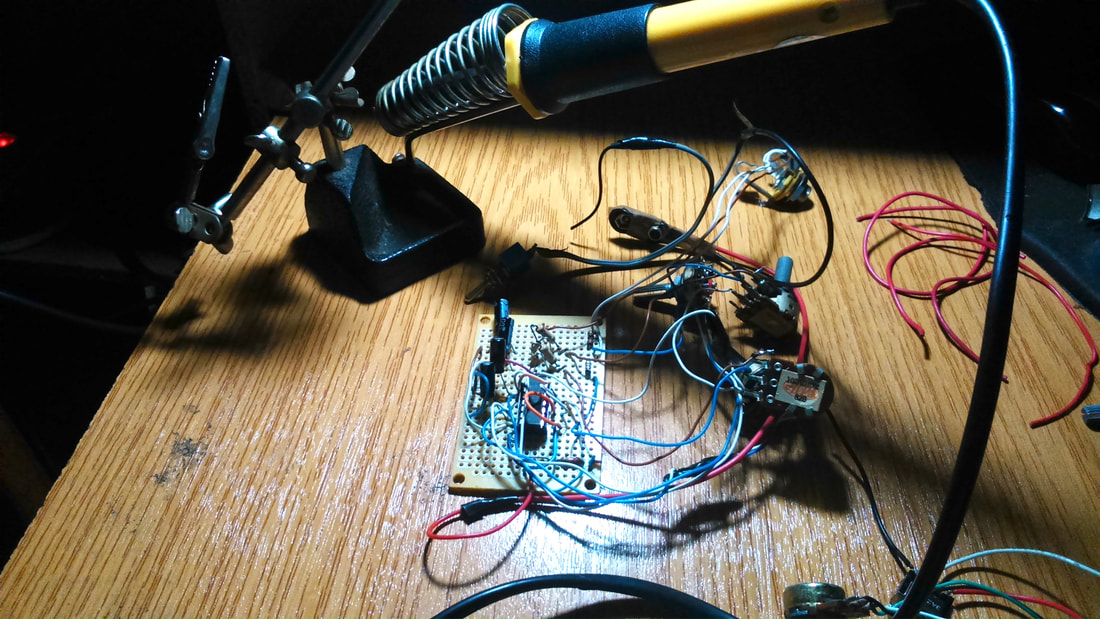 |
Eduardo GOZNE
|


 RSS Feed